I’m just a simple man trying to make my way in the universe
– Jango Fett
I am a huge Star Wars nerd, like my father before me, and ever since I bought my Ender 3, I’ve been printing various Star Wars models and costume parts. After many failed and semi-successful projects, I finally set out to make my father the helmet of one of his favorite, and most iconic, characters from a galaxy far, far away: RC-1207 Sev from the Republic Commando series.
A Long Time Ago…
For some backstory, my father is without a doubt one of the biggest Star Wars fans in the galaxy. Some of my earliest memories with him involve watching The Empire Strikes Back on VHS, playing the ’90s X-Wing vs. TIE Fighter games, and building starfighters out of LEGO. As I grew up, he took us to every new movie, bought pretty much every Expanded Universe book, and played countless Star Wars tabletop and video games with us. For the longest time, he dreamed of building a Sev cosplay. I remember when he got in trouble with Mom for buying a helmet off eBay. He never finished the cosplay, life with five kids will do that, so my goal was to make him the helmet he always deserved.
The Journey Begins…
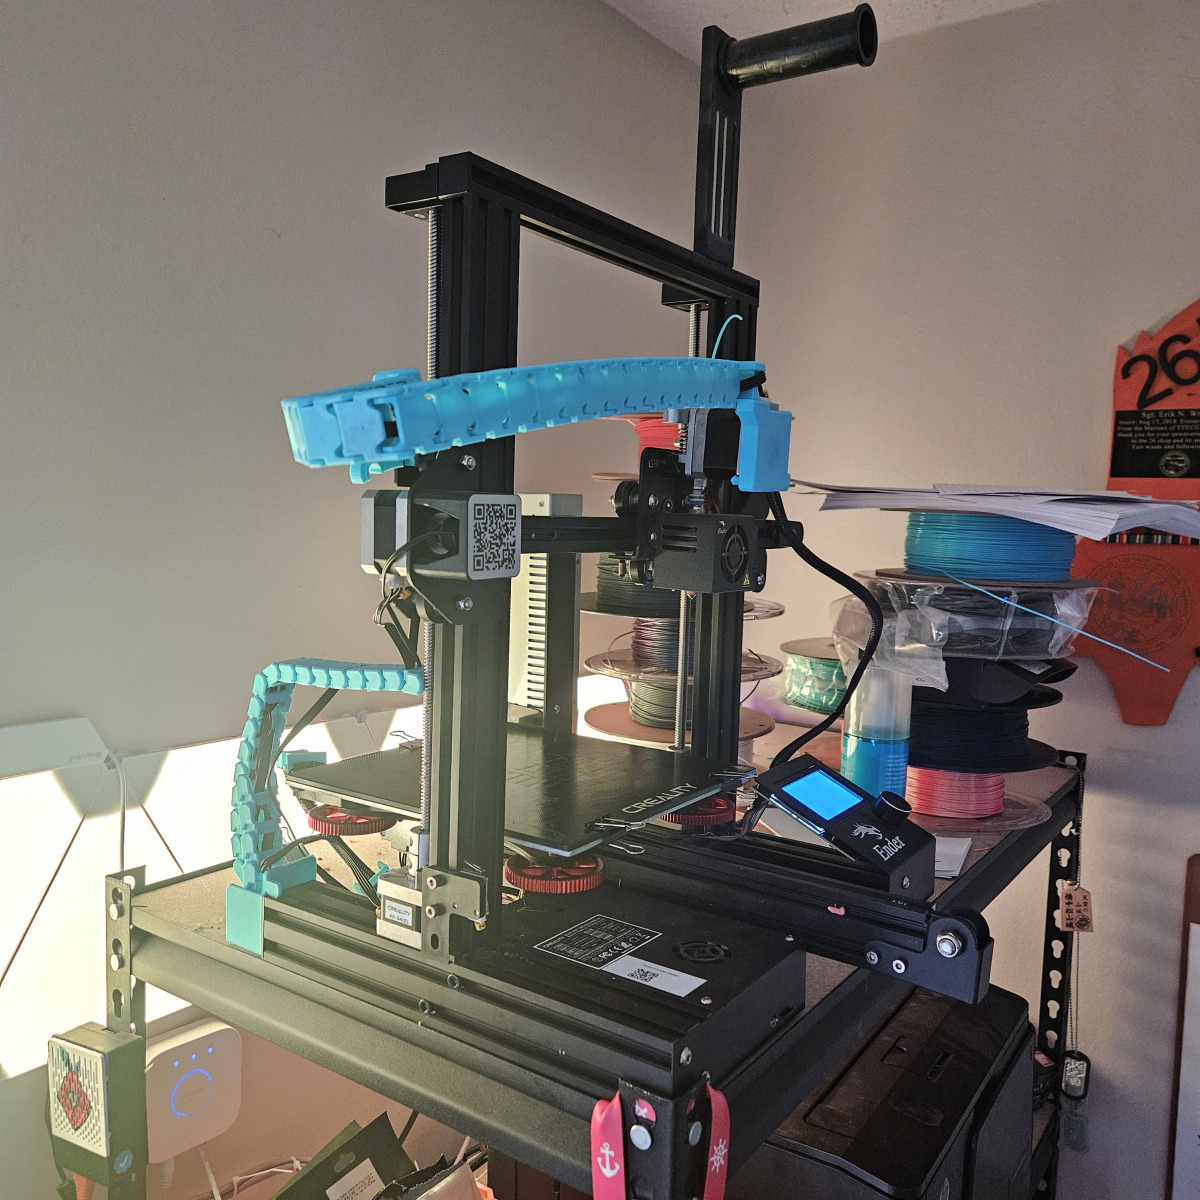
To get this project started, I relied on my mostly stock Ender 3 printer. After a year of learning slicing programs, post-processing, and printer quirks, I felt ready to take on something bigger. Here are a few of the smaller projects I tackled to prep for this build:
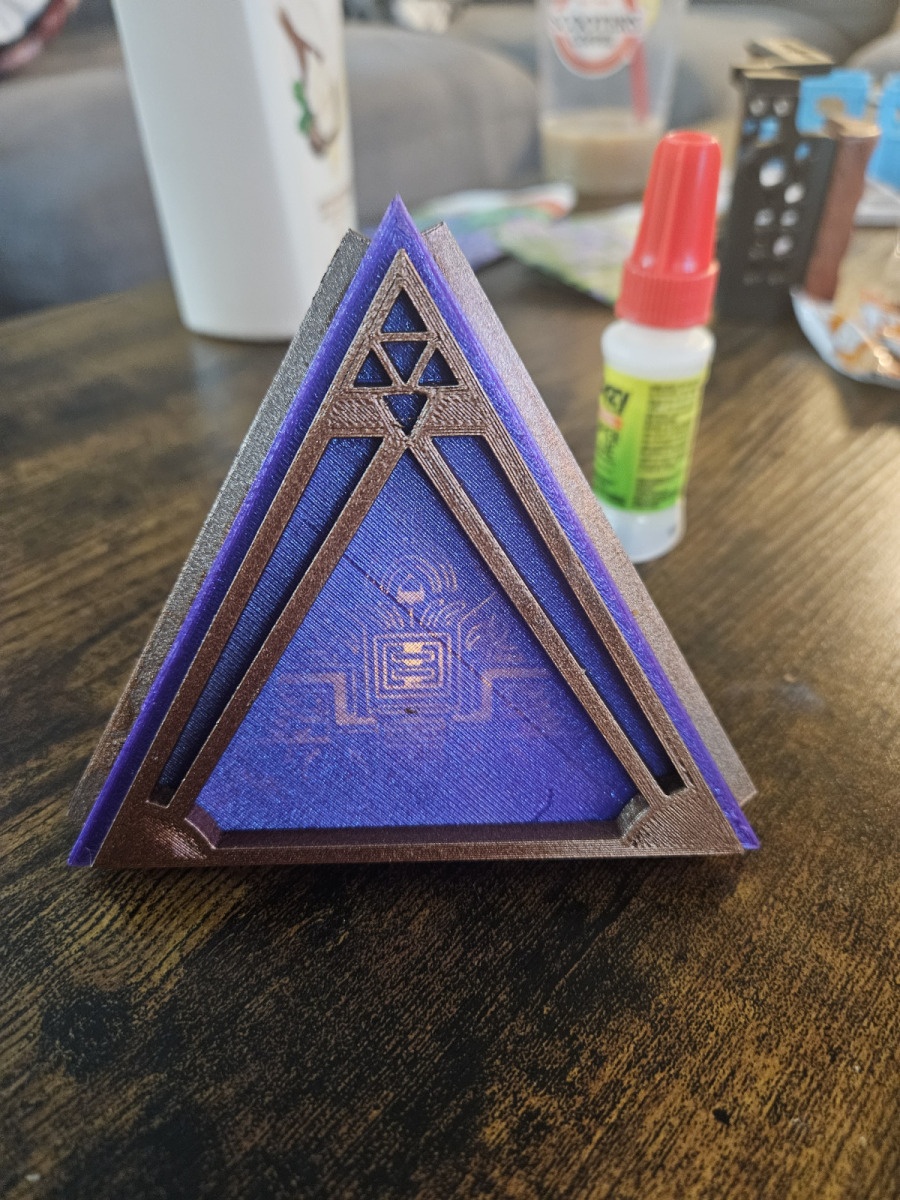


And of course a test fit was in order.
Finding the Model…
First thing to do is to find the right model. If you’re good with 3D modeling or CAD, you can make your own. Otherwise, you can purchase models from amazing creators like aguilarworkshop.com, or search for free ones on sites like Thingiverse. I found the Republic Commando helmet model on Thingiverse, so huge shoutout to creators who share their hard work freely.
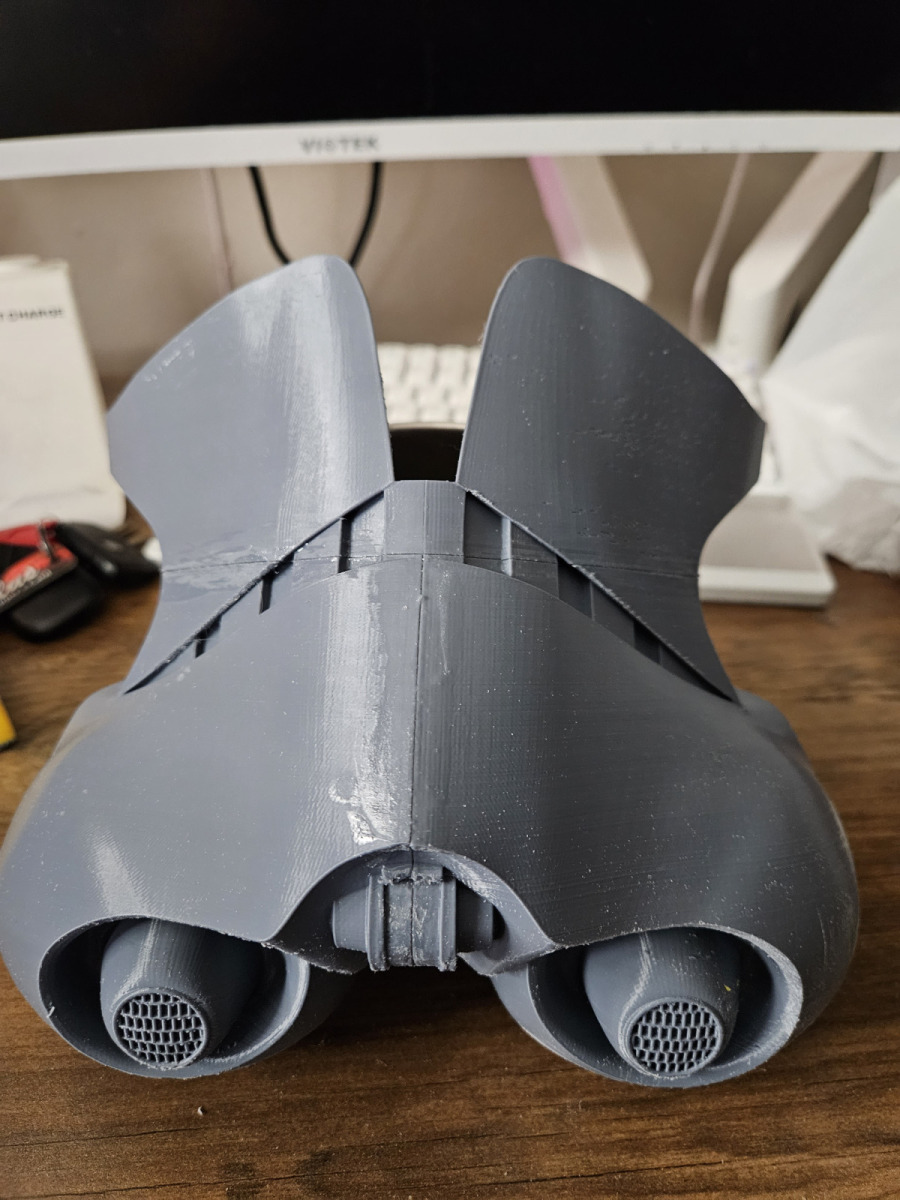
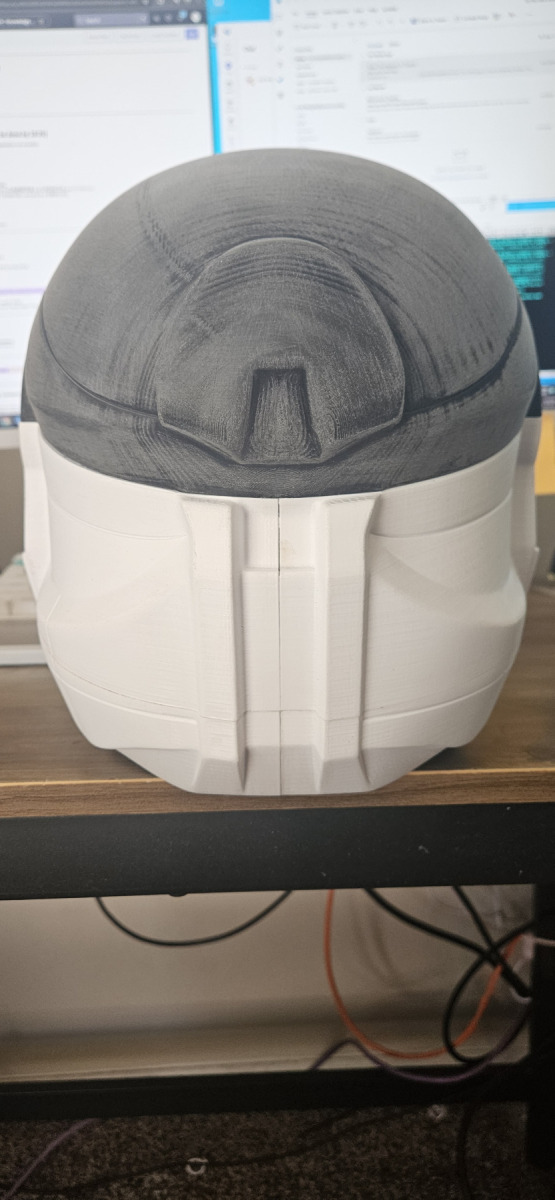
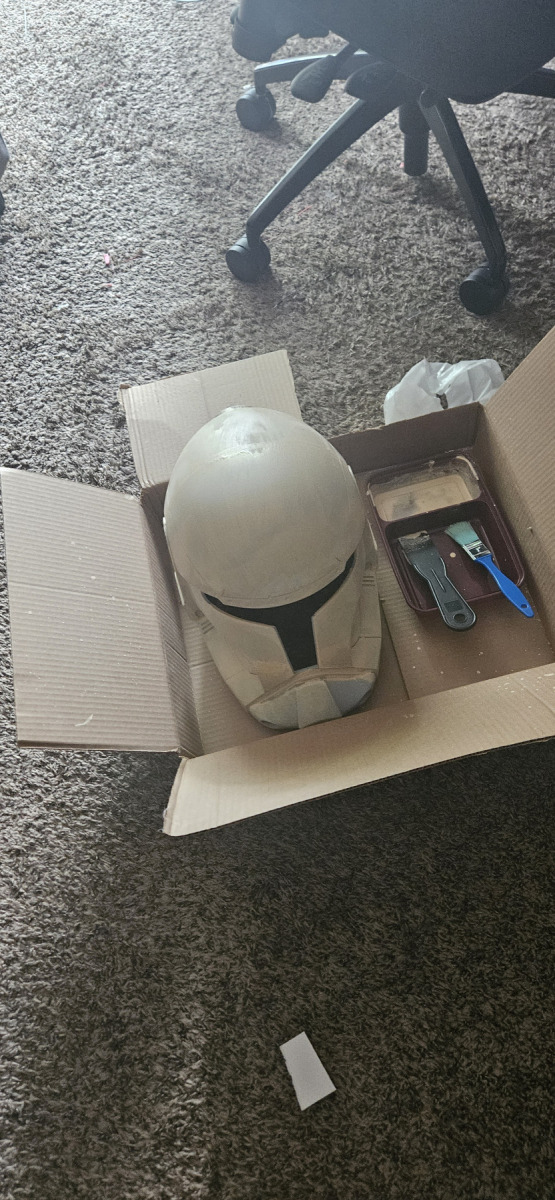
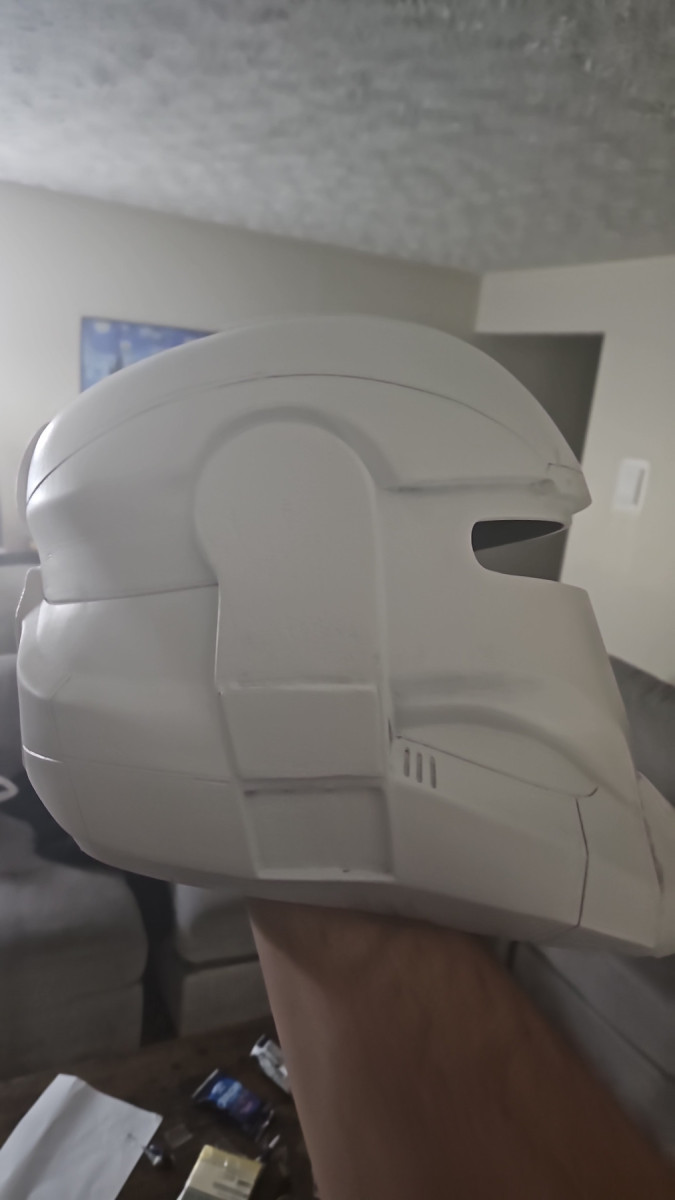
Printing and Assembly…
Then next step was to slice and print all of the pieces, sand them a little, and then put them all together. Since this print is in PLA I used just some simple Gorilla super glue to put them all together. Depending on the plastic you are using you will have different options to fuse everything, like Acetone when printing in ABS. Typically, what I found works best is to place a few drops in the face of the parts that would touch, and then either hand press or clamp the parts together for about five minutes. Then to further increase the the bond between the PLA parts, I would apply a few drops on both sides of the spot where the parts are connected and then spread it out with a brush. After repeating the exterior application a few times I would usually have a pretty strong bond!
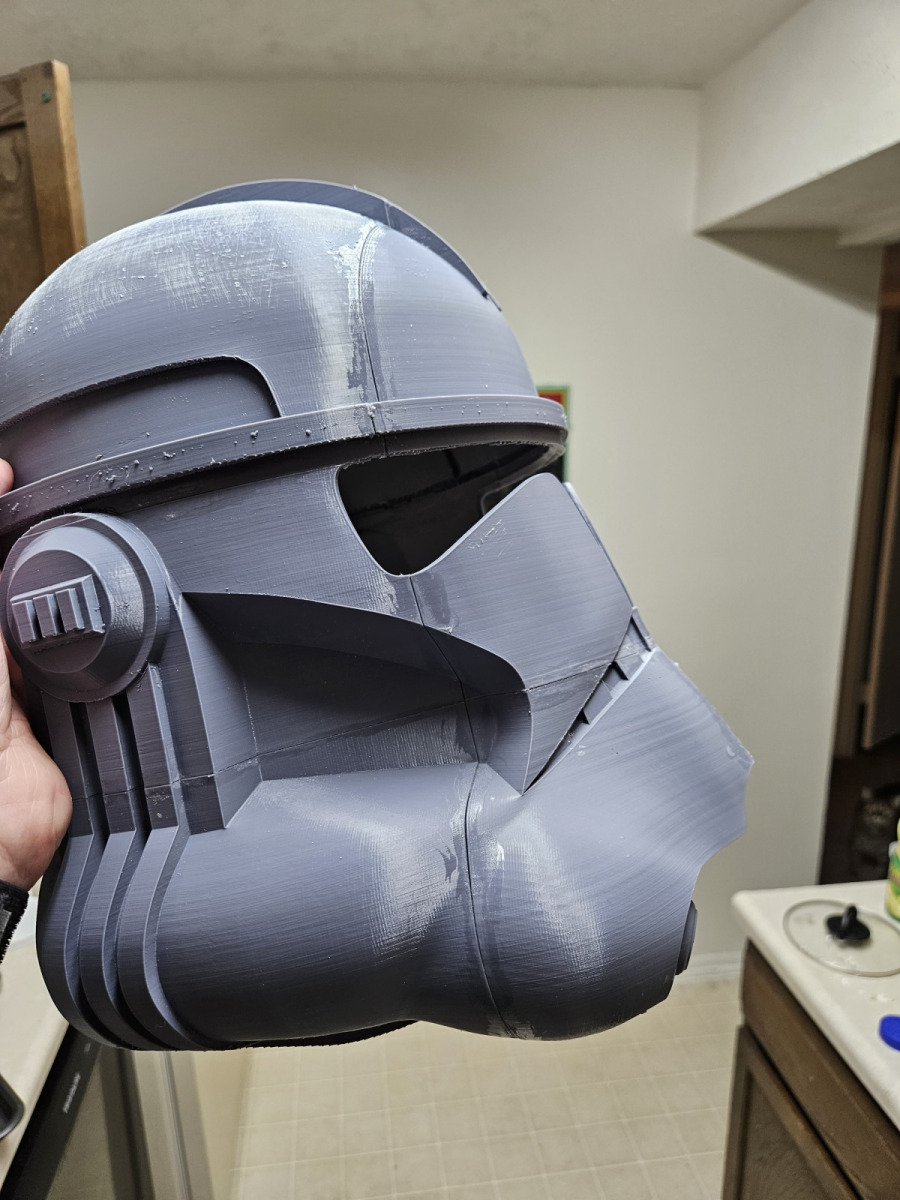
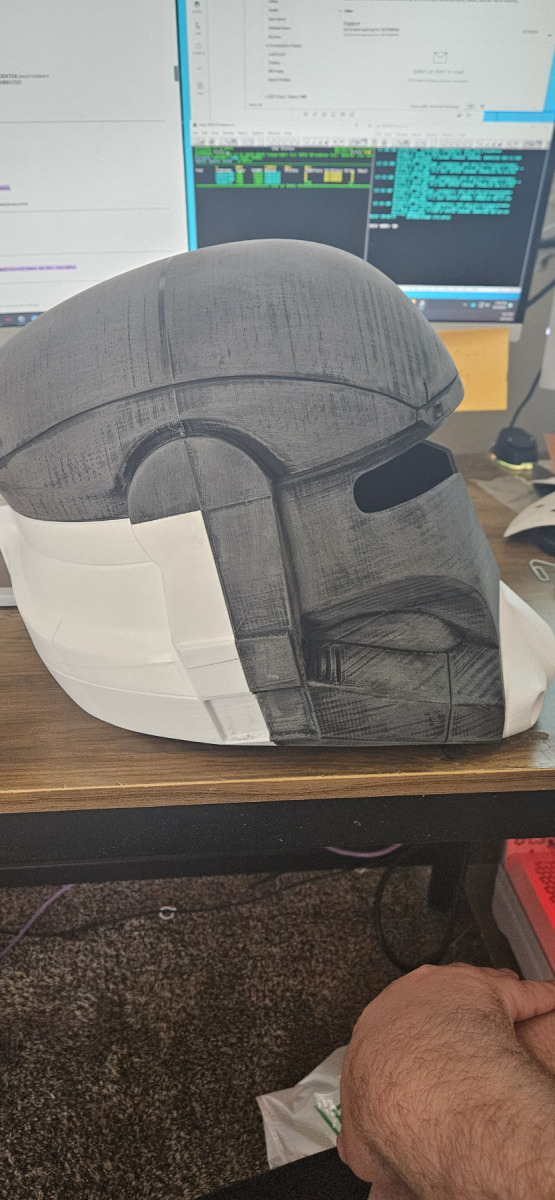
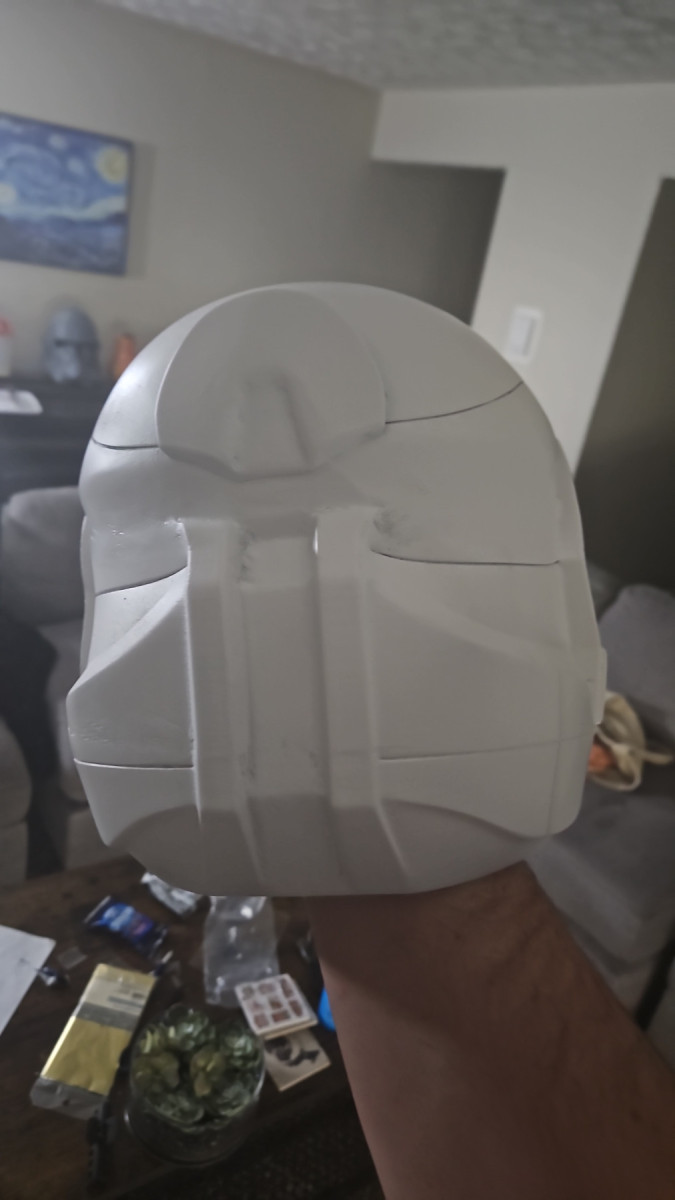
Filling and Finishing…
Then all you have to do is do a bit of sanding with some rough grit to get it ready for the next step. Before we move on though let me just point out that this project involved a lot of sanding. Just assume that in between every step I have sanded the helmet going from a rough to a more fine grit each time. If you are going to do this project at home, I would highly recommend some sort of handheld power sander. I did this by and and it was terrible and very time consuming! Also don’t forget to work in a well ventilated area with a respirator and safety glasses. Don’t want to get anymore micro plastics than you already have!


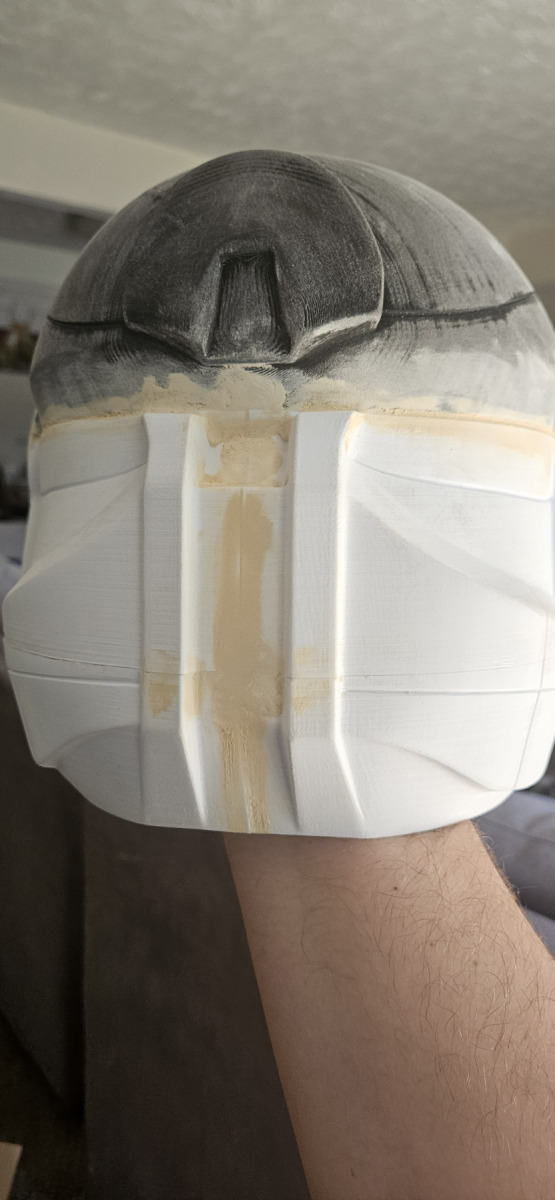
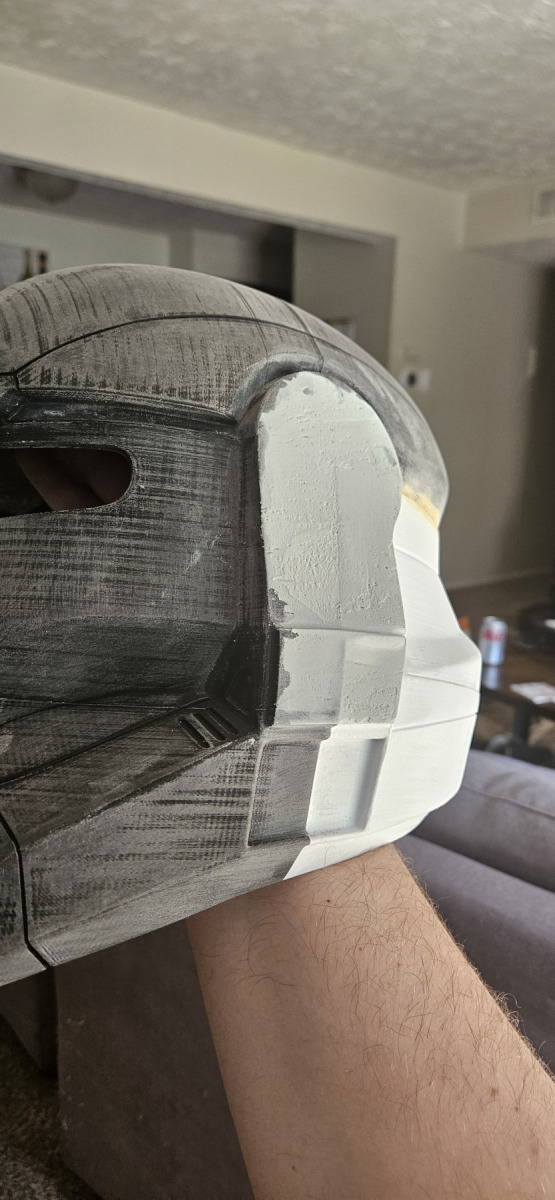
Once you get everything sanded it’s time to start filling in the cracks so the surface will be smooth to the touch! From what I read and watched online most people either used watered down wood filler for it’s ability to fill gaps and sand easily, or Bondo for it’s ability to add getter structural support to the prints. So I opted to do both, because why not! I used Bondo I got from Mendards and applied it to the sides of the helmet where I had most of the larger parts of the helmet attached to each other. Then used the watered down wood glue for for the smaller gaps and seams where things didn’t line up perfectly. After letting it dry, I did some more sanding. Finally, I coated the entire helmet with one layer of water downed wood filler and sanded until it was smooth.

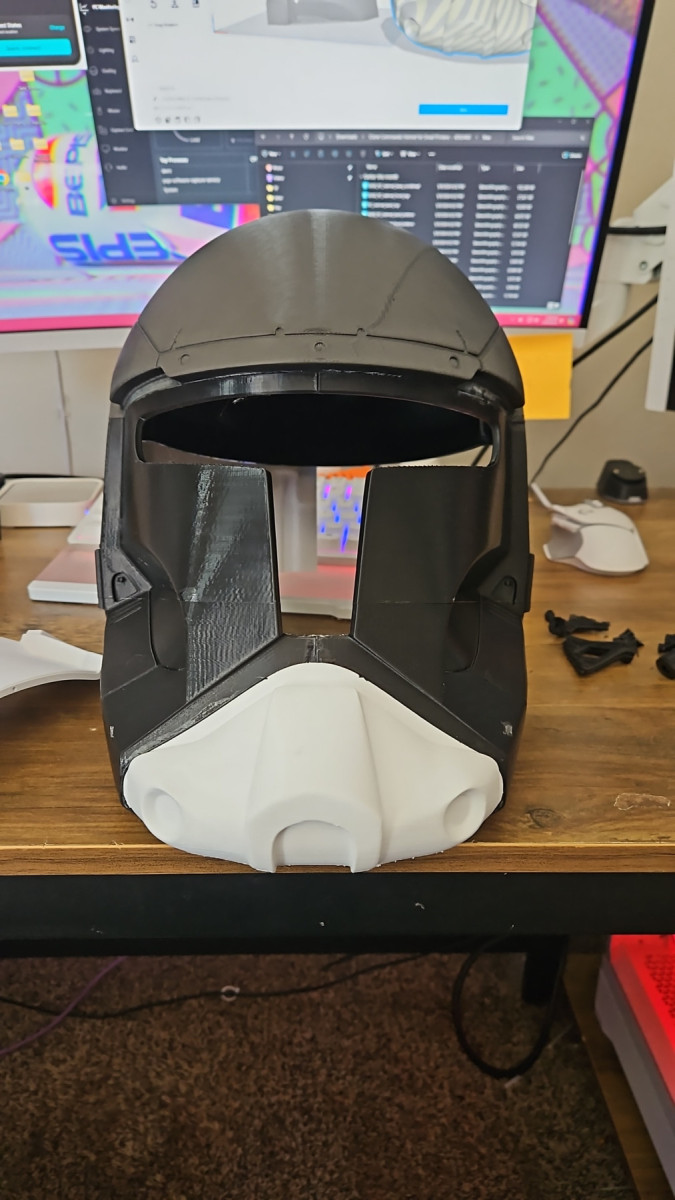
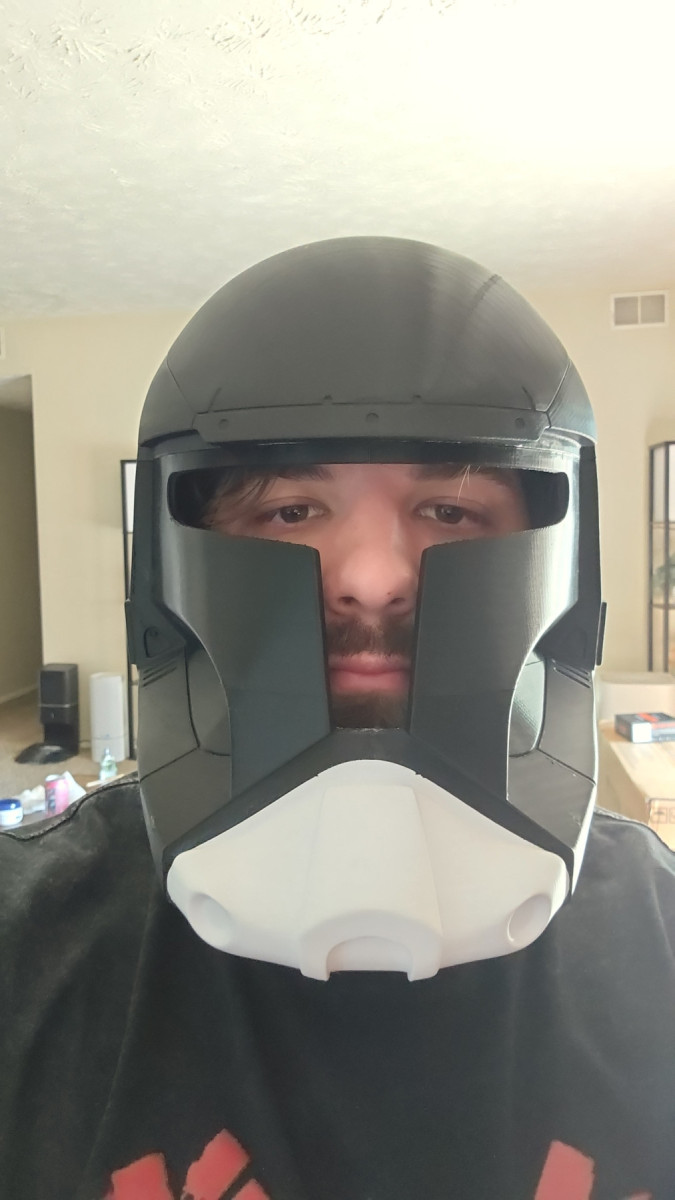
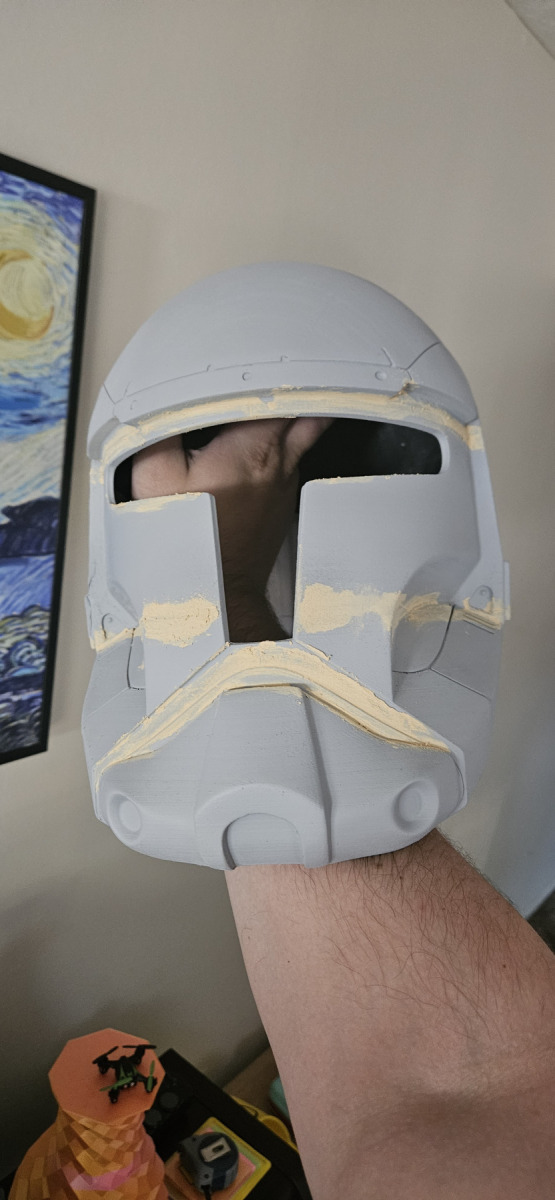
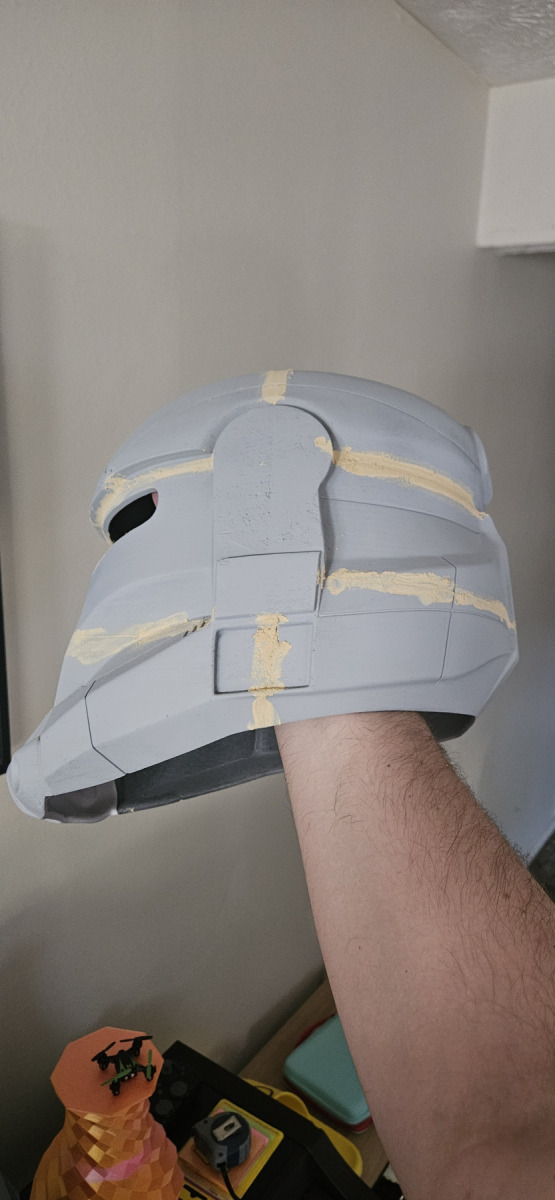
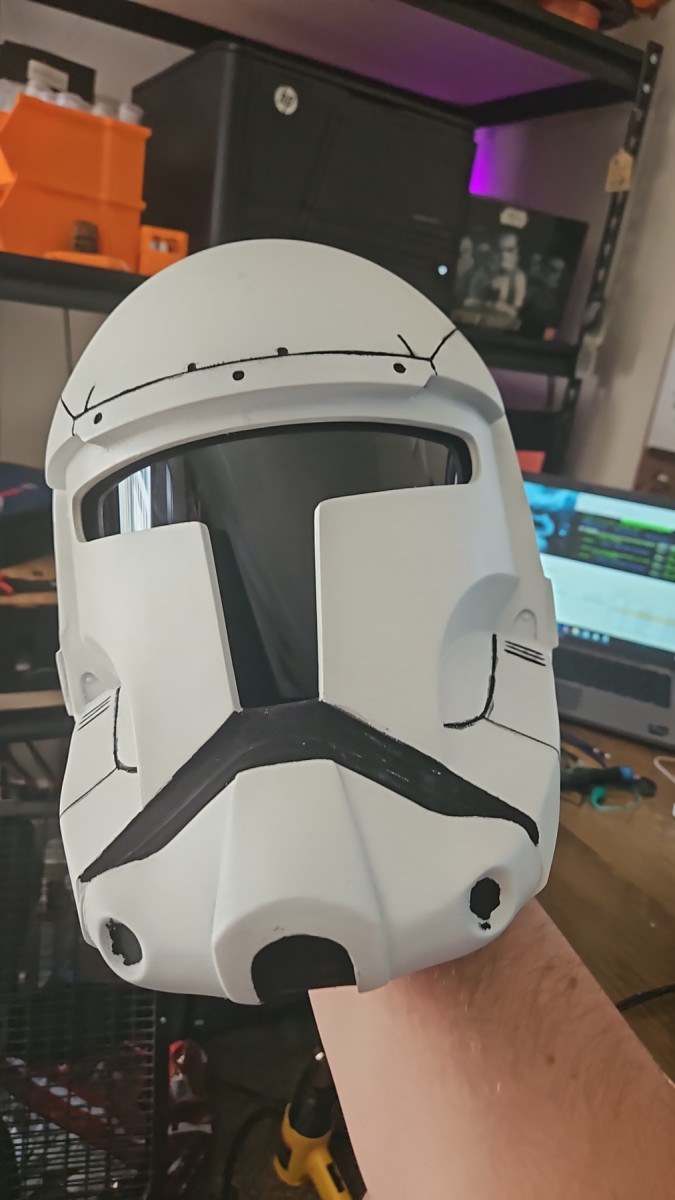
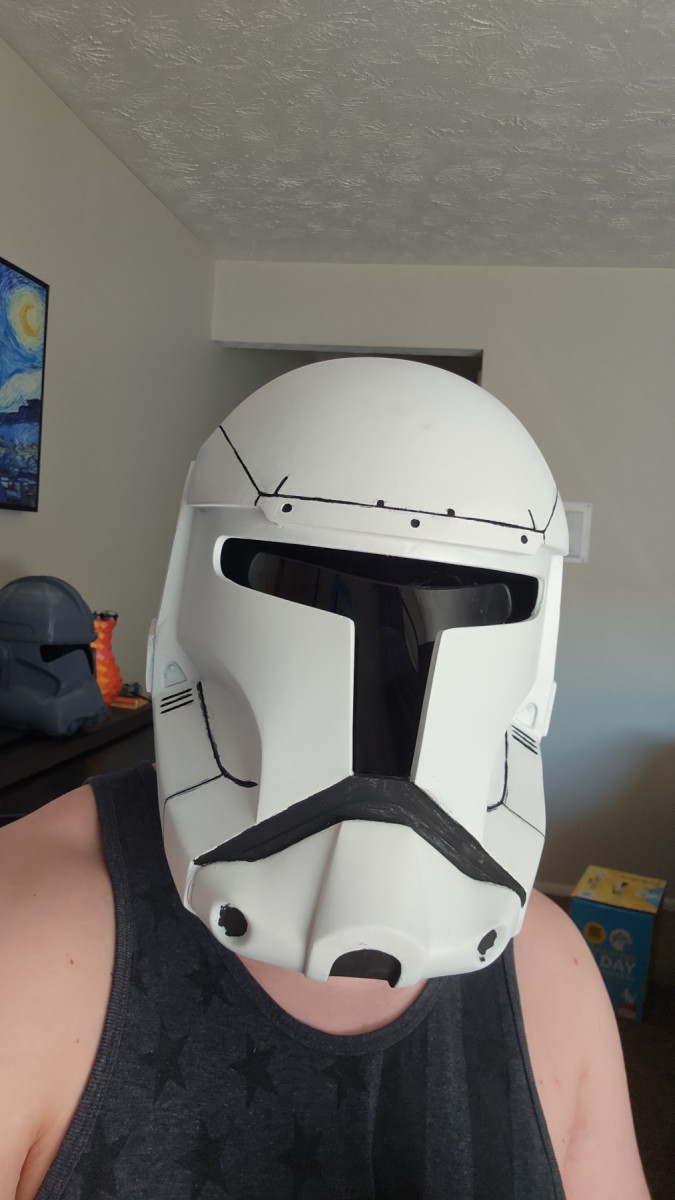
Painting and Detail Work…
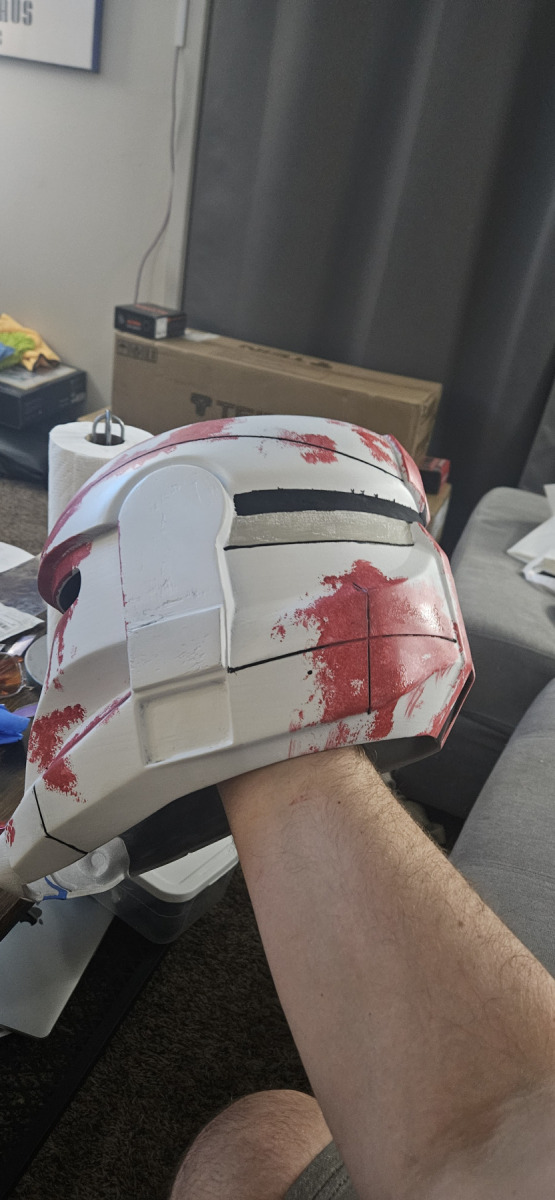
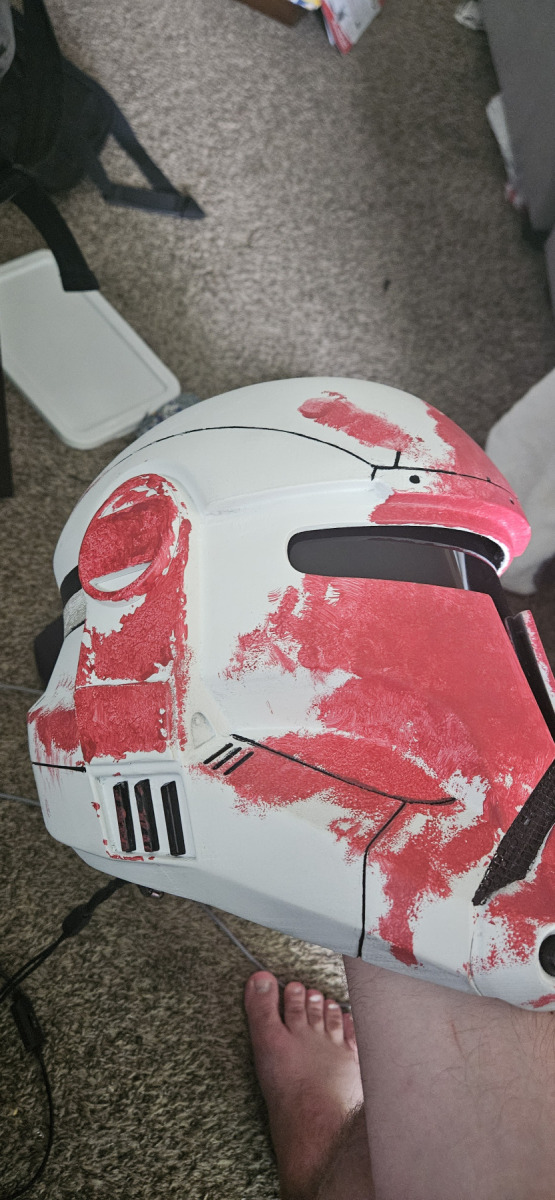
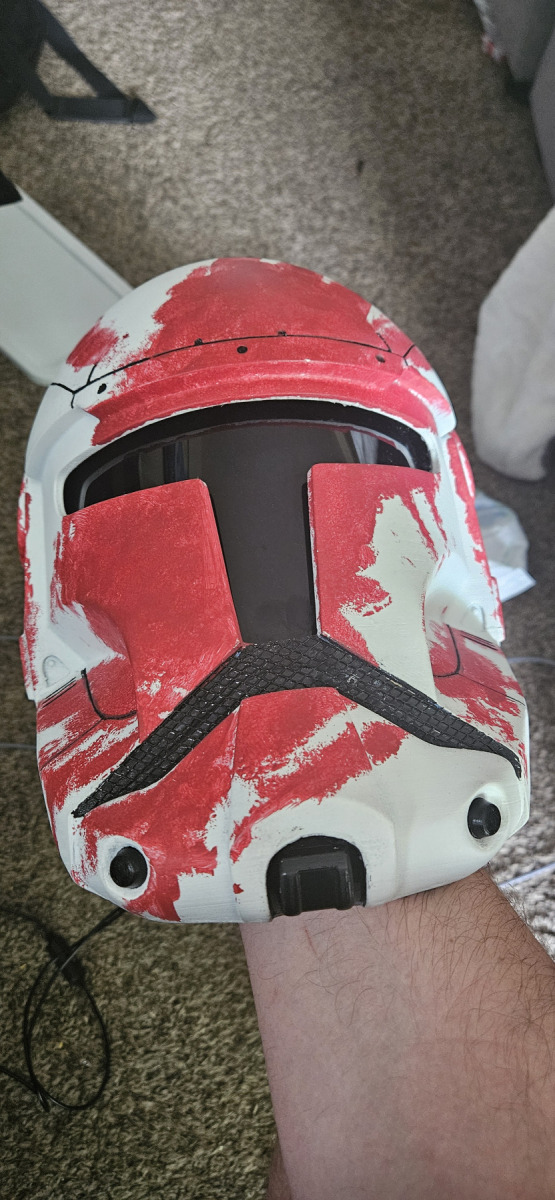
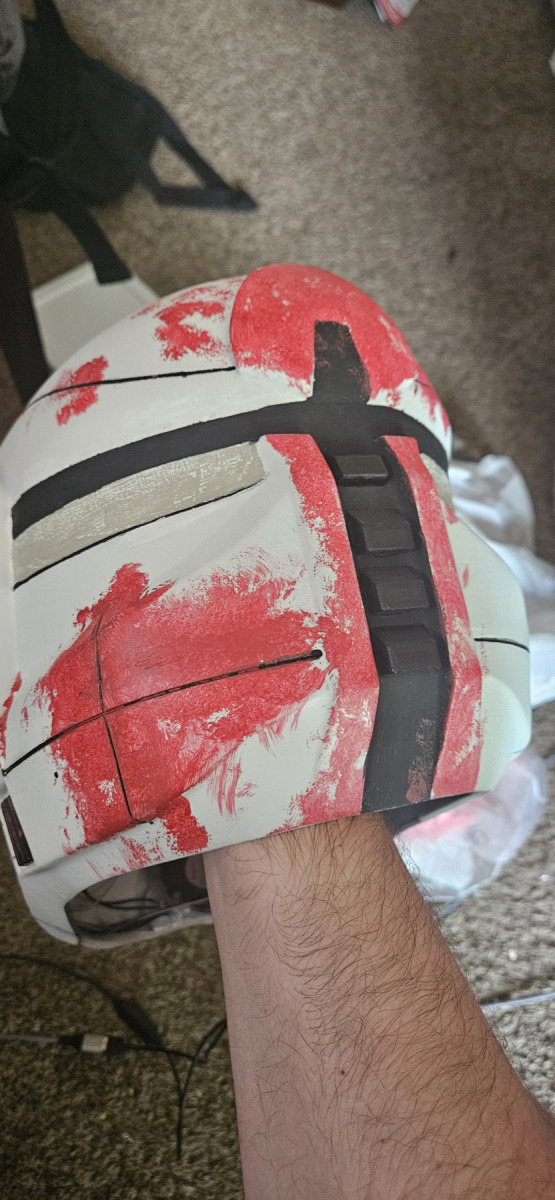
With the bulk of the work behind me all I had left was to put down a few layers of primer while filling any extra seems with wood filler. Then I laid down the white base that the clones are known for. After the two or three base coats I when in with a brush to paint the accents with black acrylic paint. For the visor I used a plastic face visor off of Amazon, and cut it down to fit. After using a heat gun to shape the visor to the helmet I secured it in place using some hot glue. For the mouth grill I bought some wire mesh from a hobby store and cut it to fit before securing it with super glue.

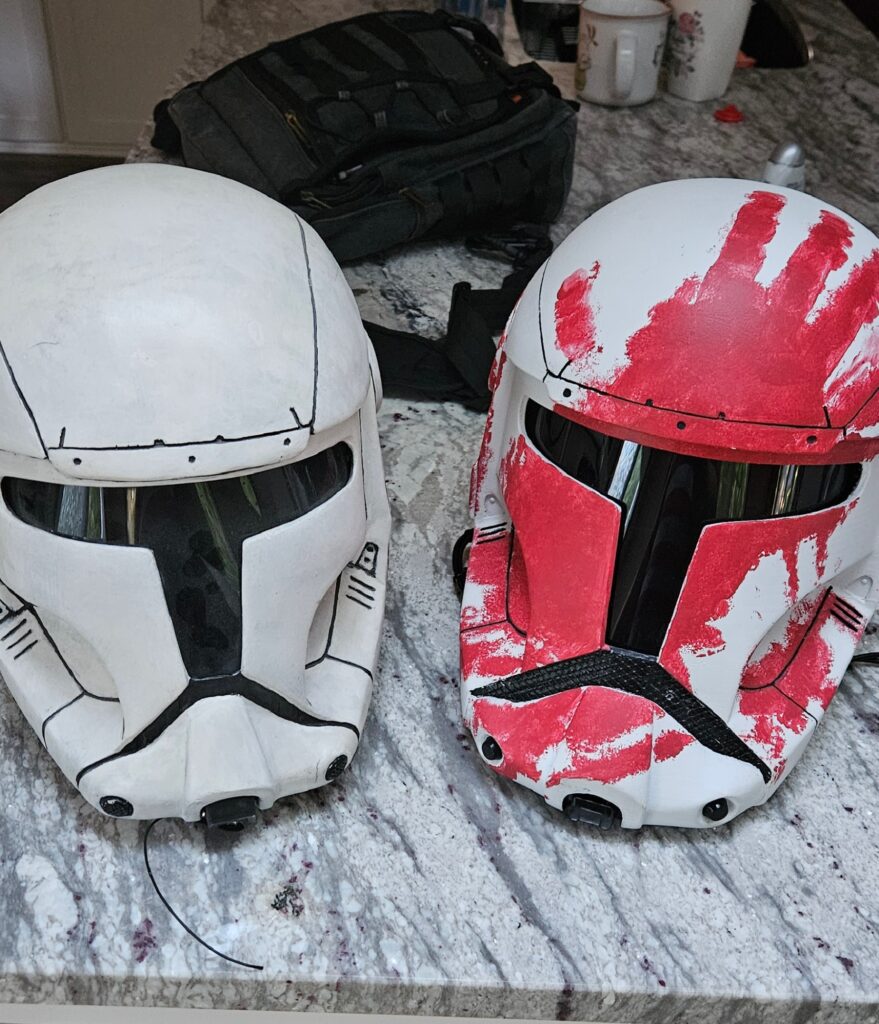
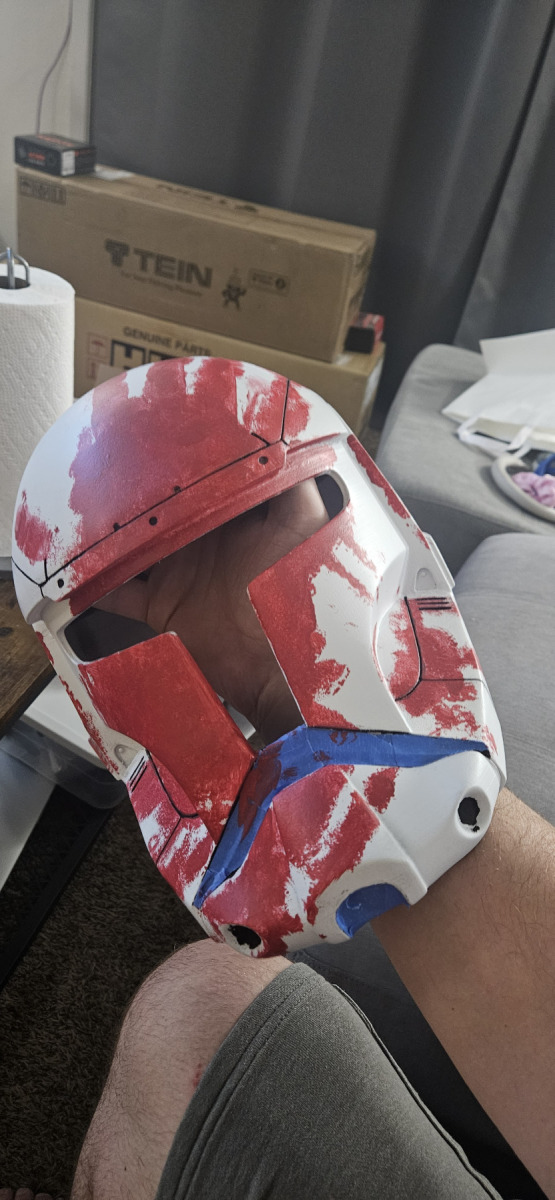
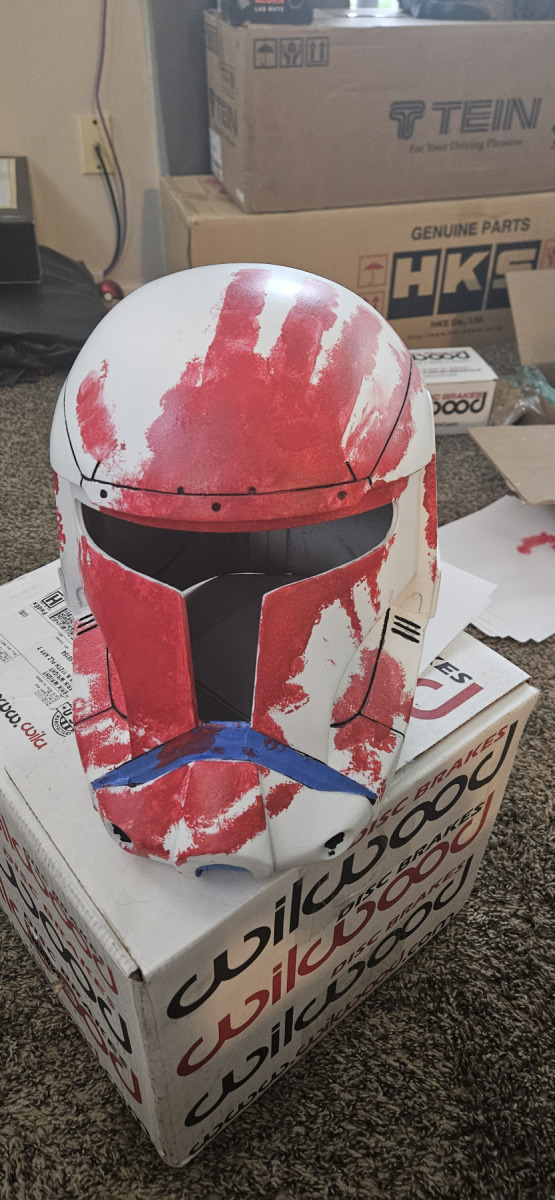
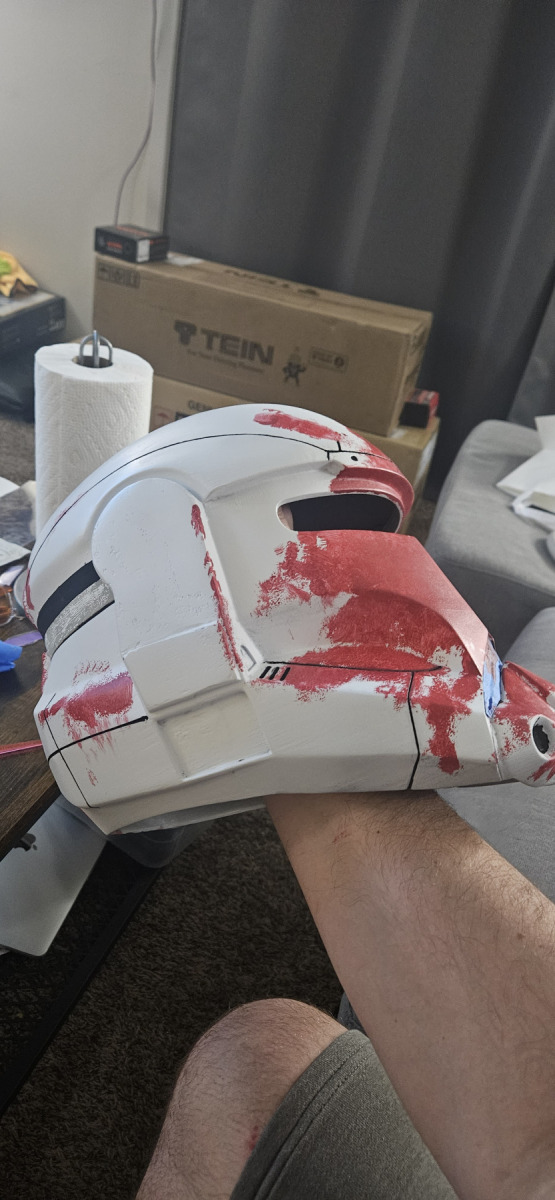
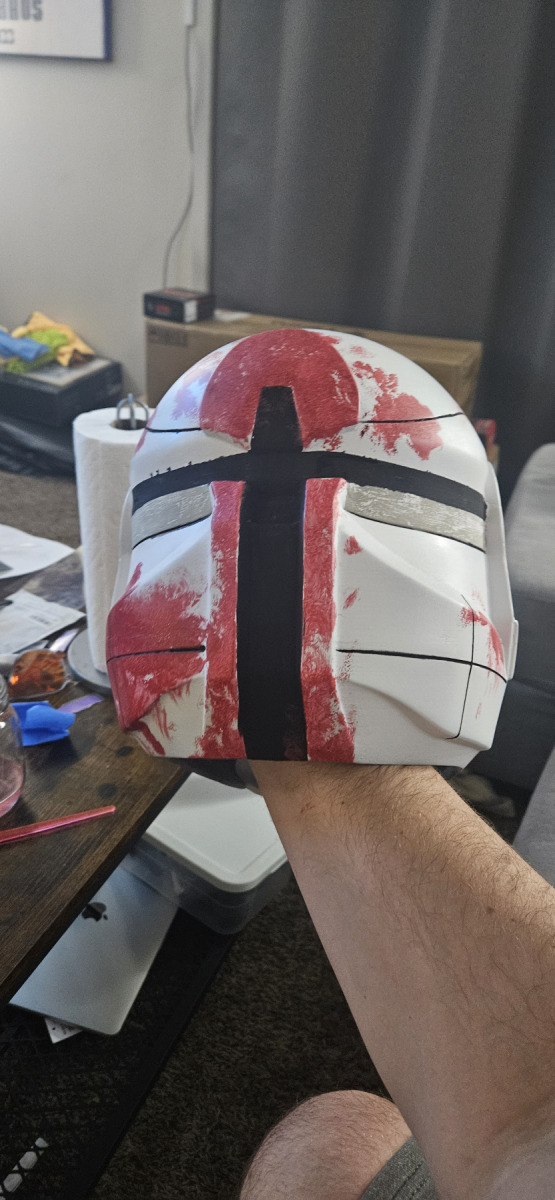
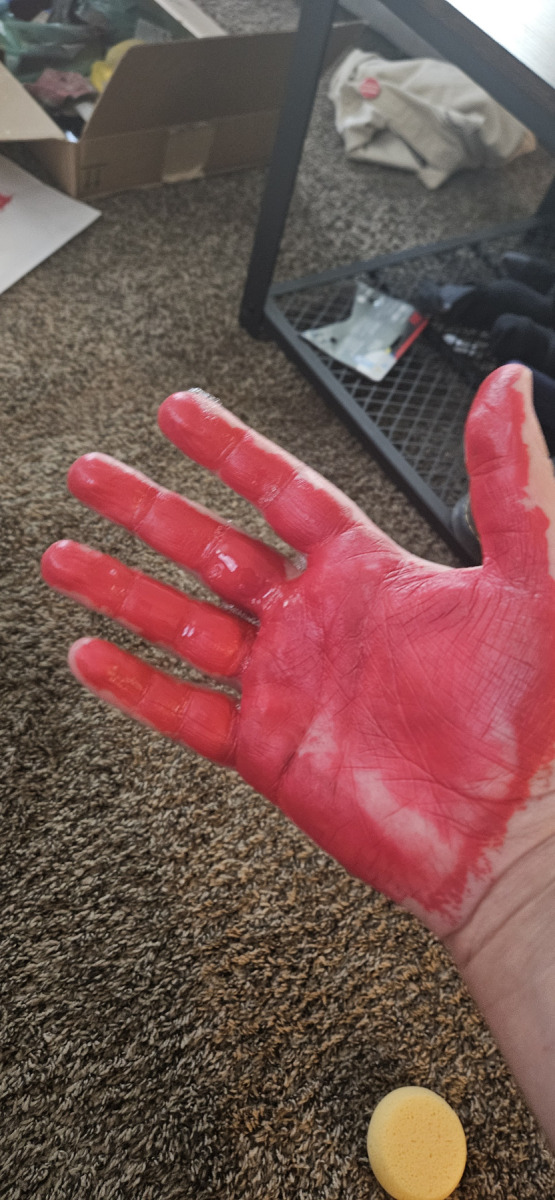
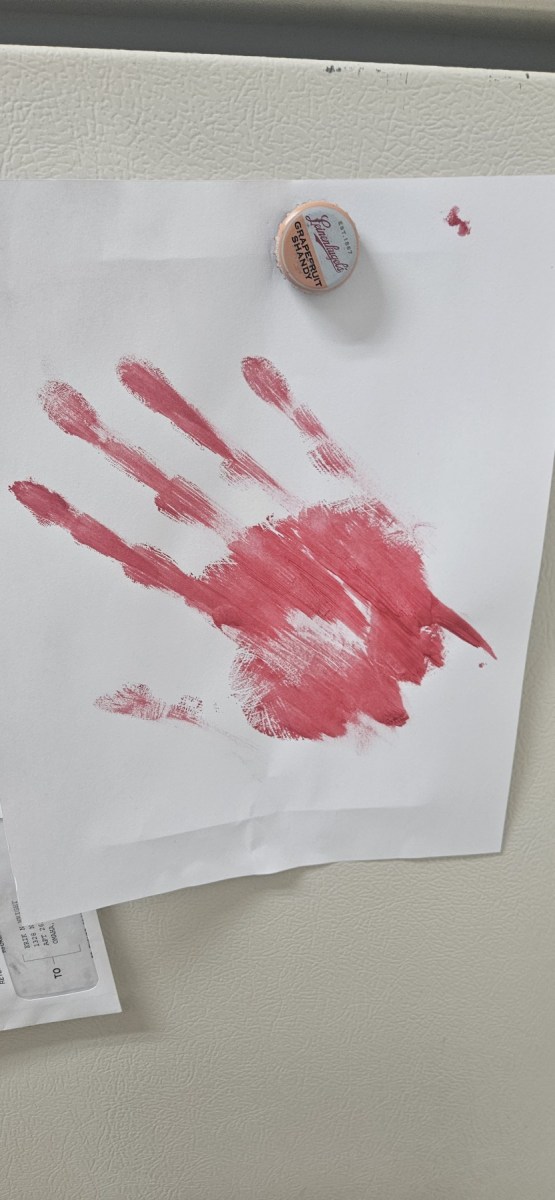
The final part of this model is to add the striking livery to the helmet. Since the character has made few appearances since his debut in the 2005 game Republic Command, I had to take some creative liberties to bring the fear inducing bloodied paint scheme to life. After masking the accent lines and parts I used some watered down crimson acrylic paint and my hand to imprint the signature look across the faceplate. Then I used a sponge applicator to apply additional blood splatter and streaks.
Finishing Touches…
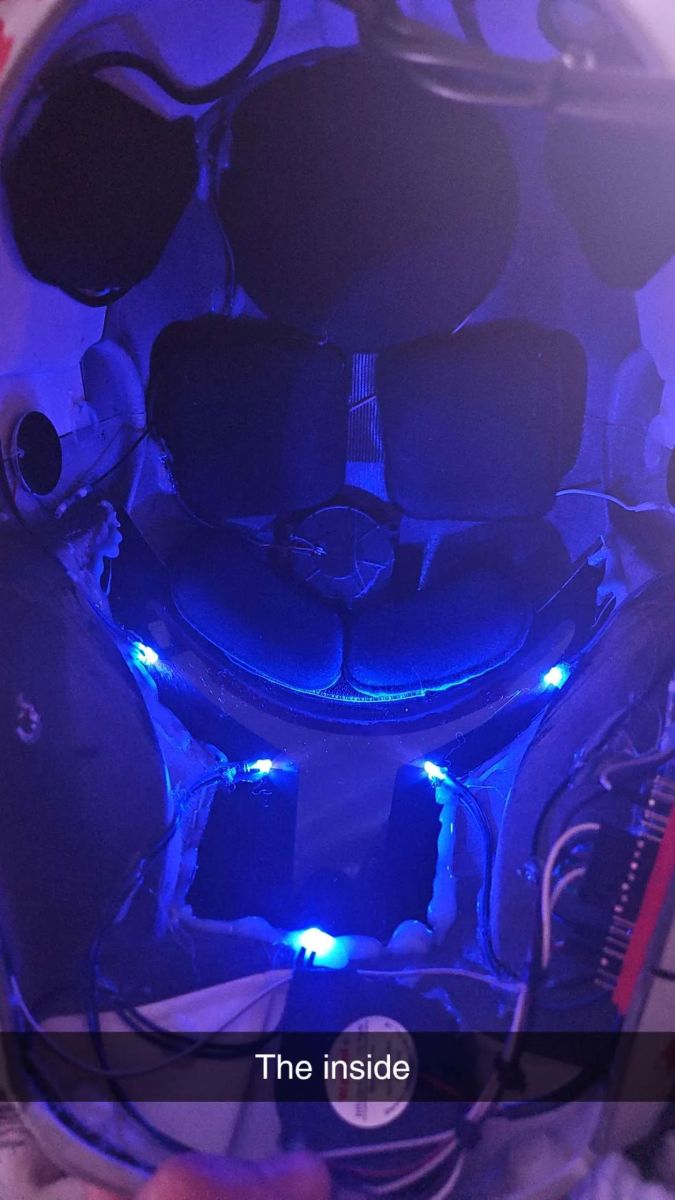
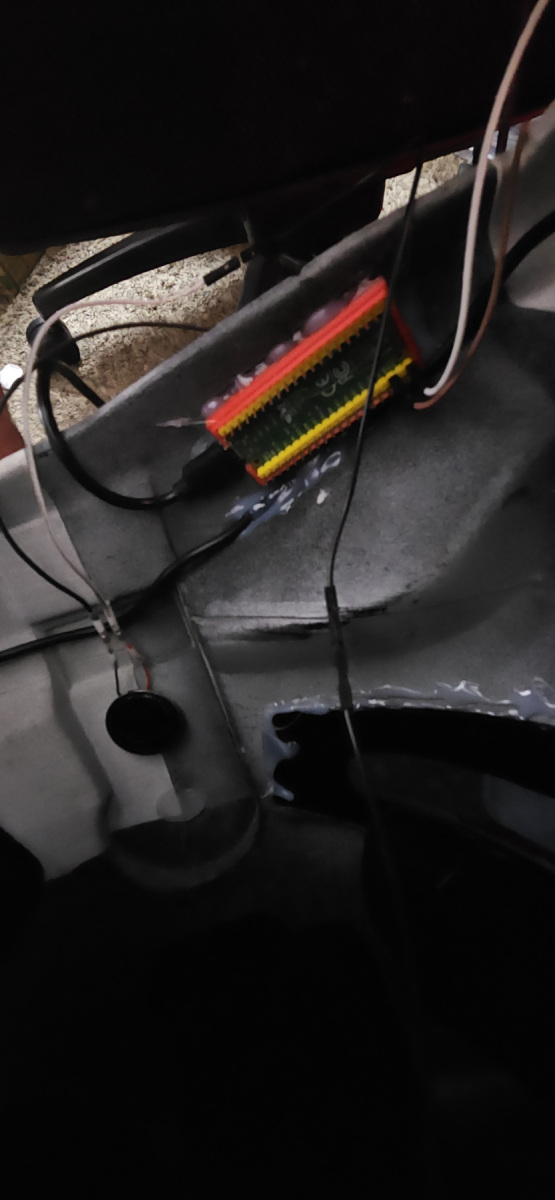
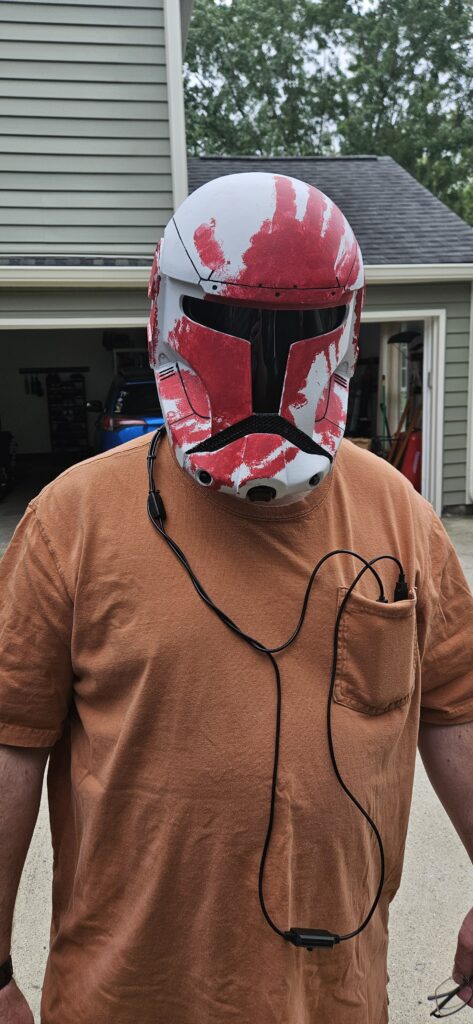
With the helmet complete, I decided to add some flair. Using a Raspberry Pi Pico and MicroPython, I wired up LEDs behind the visor to simulate the in-game glow. I also found original voice lines and sound effects from the game and used small speakers inside the helmet to play them. The entire system is powered by a USB power bank and securely tucked away. Final touches included padding, wire routing, and mini exhaust fans for comfort. Once everything was in place, I drove the helmet to my dad and handed it to him in person.

Watching my dad don the finished helmet with glowing lights and Sev’s iconic crimson streaks was worth every failed print, every grain of sandpaper, and every drop of glue. This wasn’t just a cosplay prop. It was a tribute to the man who introduced me to Star Wars, and to the galaxy we still explore together.
This one was for you, Dad. For the Republic!
MicroPython for helmet.
#libs
import time
import board
import random
import digitalio
from audiocore import WaveFile
from audiopwmio import PWMAudioOut as AudioOut

#Speakers
audio = AudioOut(board.GP16)

#dir var
path = "sounds/"

#LEDs
led = digitalio.DigitalInOut(board.GP5)
led.direction = digitalio.Direction.OUTPUT
led1 = digitalio.DigitalInOut(board.GP6)
led1.direction = digitalio.Direction.OUTPUT
led2 = digitalio.DigitalInOut(board.GP7)
led2.direction = digitalio.Direction.OUTPUT
led3 = digitalio.DigitalInOut(board.GP8)
led3.direction = digitalio.Direction.OUTPUT
led4 = digitalio.DigitalInOut(board.GP9)
led4.direction = digitalio.Direction.OUTPUT

#function to open/read .wav file
def play_sound(filename):
    with open(path + filename, "rb") as wave_file:
        wave = WaveFile(wave_file)
        audio.play(wave)
        while audio.playing:
            pass

#from input play selected file
def sfx(n):
    if n == 0:
        play_sound("62_anger.wav")
    elif n == 1:
        play_sound("rad_02.wav")
    elif n == 2:
        play_sound("rad_03.wav")
    elif n == 3:
        play_sound("62_droids.wav")
    elif n == 4:
        play_sound("40_win.wav")
    elif n == 5:
        led4.value = False
        led3.value = False
        time.sleep(1)
        led2.value = False
        led1.value = False
        time.sleep(1)
        led.value = False

        time.sleep(2)

        led.value = True
        play_sound("chirp.wav")
        play_sound("chirp.wav")
        led1.value = True
        led2.value = True
        play_sound("chirp.wav")
        led3.value = True
        led4.value = True
        play_sound("chirp.wav")
    elif n == 6:
        play_sound("delta.wav")
    elif n == 7:
        play_sound("62_rgr.wav")
        time.sleep(1)
        play_sound("07_lol.wav")
    elif n == 8:
        play_sound("62_bad.wav")


#initial boot sequence
play_sound("chirp.wav")
led.value = True
play_sound("chirp.wav")
play_sound("chirp.wav")
led1.value = True
led2.value = True
play_sound("chirp.wav")
led3.value = True
led4.value = True
play_sound("chirp.wav")
play_sound("boot.wav")
play_sound("heal.wav")

time.sleep(30)

#initial sound play
n = random.randint(0,8)
sfx(n)
m = n

#main loop
while True:
    n = random.randint(0,8)

    if m == n:
        n = random.randint(0,8)
        sfx(n)
    else:
        sfx(n)

    m = n

    time.sleep(300)