As any cybersecurity-conscious person will tell you, password managers are one of the easiest and most effective tools for protecting your digital life. They encourage you to create long, unique, and complex passwords for every website and service, no more recycling the same weak password everywhere.
Now, sure, you could use something like KeePass and keep it local to your machine. That works great if you’re mostly tied to one device. But if you’re like me—always bouncing between machines, phones, and maybe even the occasional tablet, you’ll probably want something a little more accessible.
That’s where Vaultwarden comes in. It’s a lightweight, self-hosted fork of Bitwarden, the open-source password manager. With Vaultwarden, you get to use the official Bitwarden mobile apps and browser extensions, but with a leaner backend that’s easier to run on your own server. It’s fast, minimal, and you keep control of your own data.
The Setup
You’ll need a few things before we get started:
- A server with Docker installed
- The Apache web server
- A domain name
- An SSL certificate (we’ll use Let’s Encrypt)
- Port
443open on your firewall (or another port if you’re using a custom setup)
If you’re already running services on your host’s port 443 like I am, you can remap Vaultwarden’s container to a different internal port and let Apache handle the HTTPS proxying.
Apache
Once you’ve got Docker, Apache, and your domain ready, it’s time to configure your reverse proxy.
Create a new config file for Vaultwarden at /etc/apache2/sites-available/vaultwarden.conf. Here is a template you can use for your setup.
<IfModule mod_ssl.c>
<VirtualHost *:80>
    ServerName your_domain
    Redirect permanent / https://your_domain/
</VirtualHost>

<VirtualHost *:443>
    ServerName your_domain

    SSLEngine on
    SSLProxyEngine on

    SSLCertificateFile /etc/letsencrypt/live/your_domain/fullchain.pem
    SSLCertificateKeyFile /etc/letsencrypt/live/your_domain/privkey.pem

    ProxyPreserveHost On
    ProxyRequests Off

    ProxyPass / http://127.0.0.1:8443/
    ProxyPassReverse / http://127.0.0.1:8443/

    # WebSocket support
    RewriteEngine On
    RewriteCond %{HTTP:UPGRADE} ^(.*)$ [NC]
    RewriteCond %{HTTP:CONNECTION} ^(.*Upgrade.*)$ [NC]
    RewriteRule ^/?(.*) "ws://127.0.0.1:8443/\" [P,L]

    RequestHeader set X-Forwarded-Proto "https"
    RequestHeader set X-Forwarded-Port "443"

    ErrorLog ${APACHE_LOG_DIR}/vaultwarden-error.log
    CustomLog ${APACHE_LOG_DIR}/vaultwarden-access.log combined
</VirtualHost>
</IfModule>
Then enable the required Apache modules:
- a2enmod proxy
- a2enmod proxy_http
- a2enmod proxy_wstunnel
- a2enmod ssl
- a2enmod rewrite
Now all you should need to do is enable your site and restart apache.
Docker
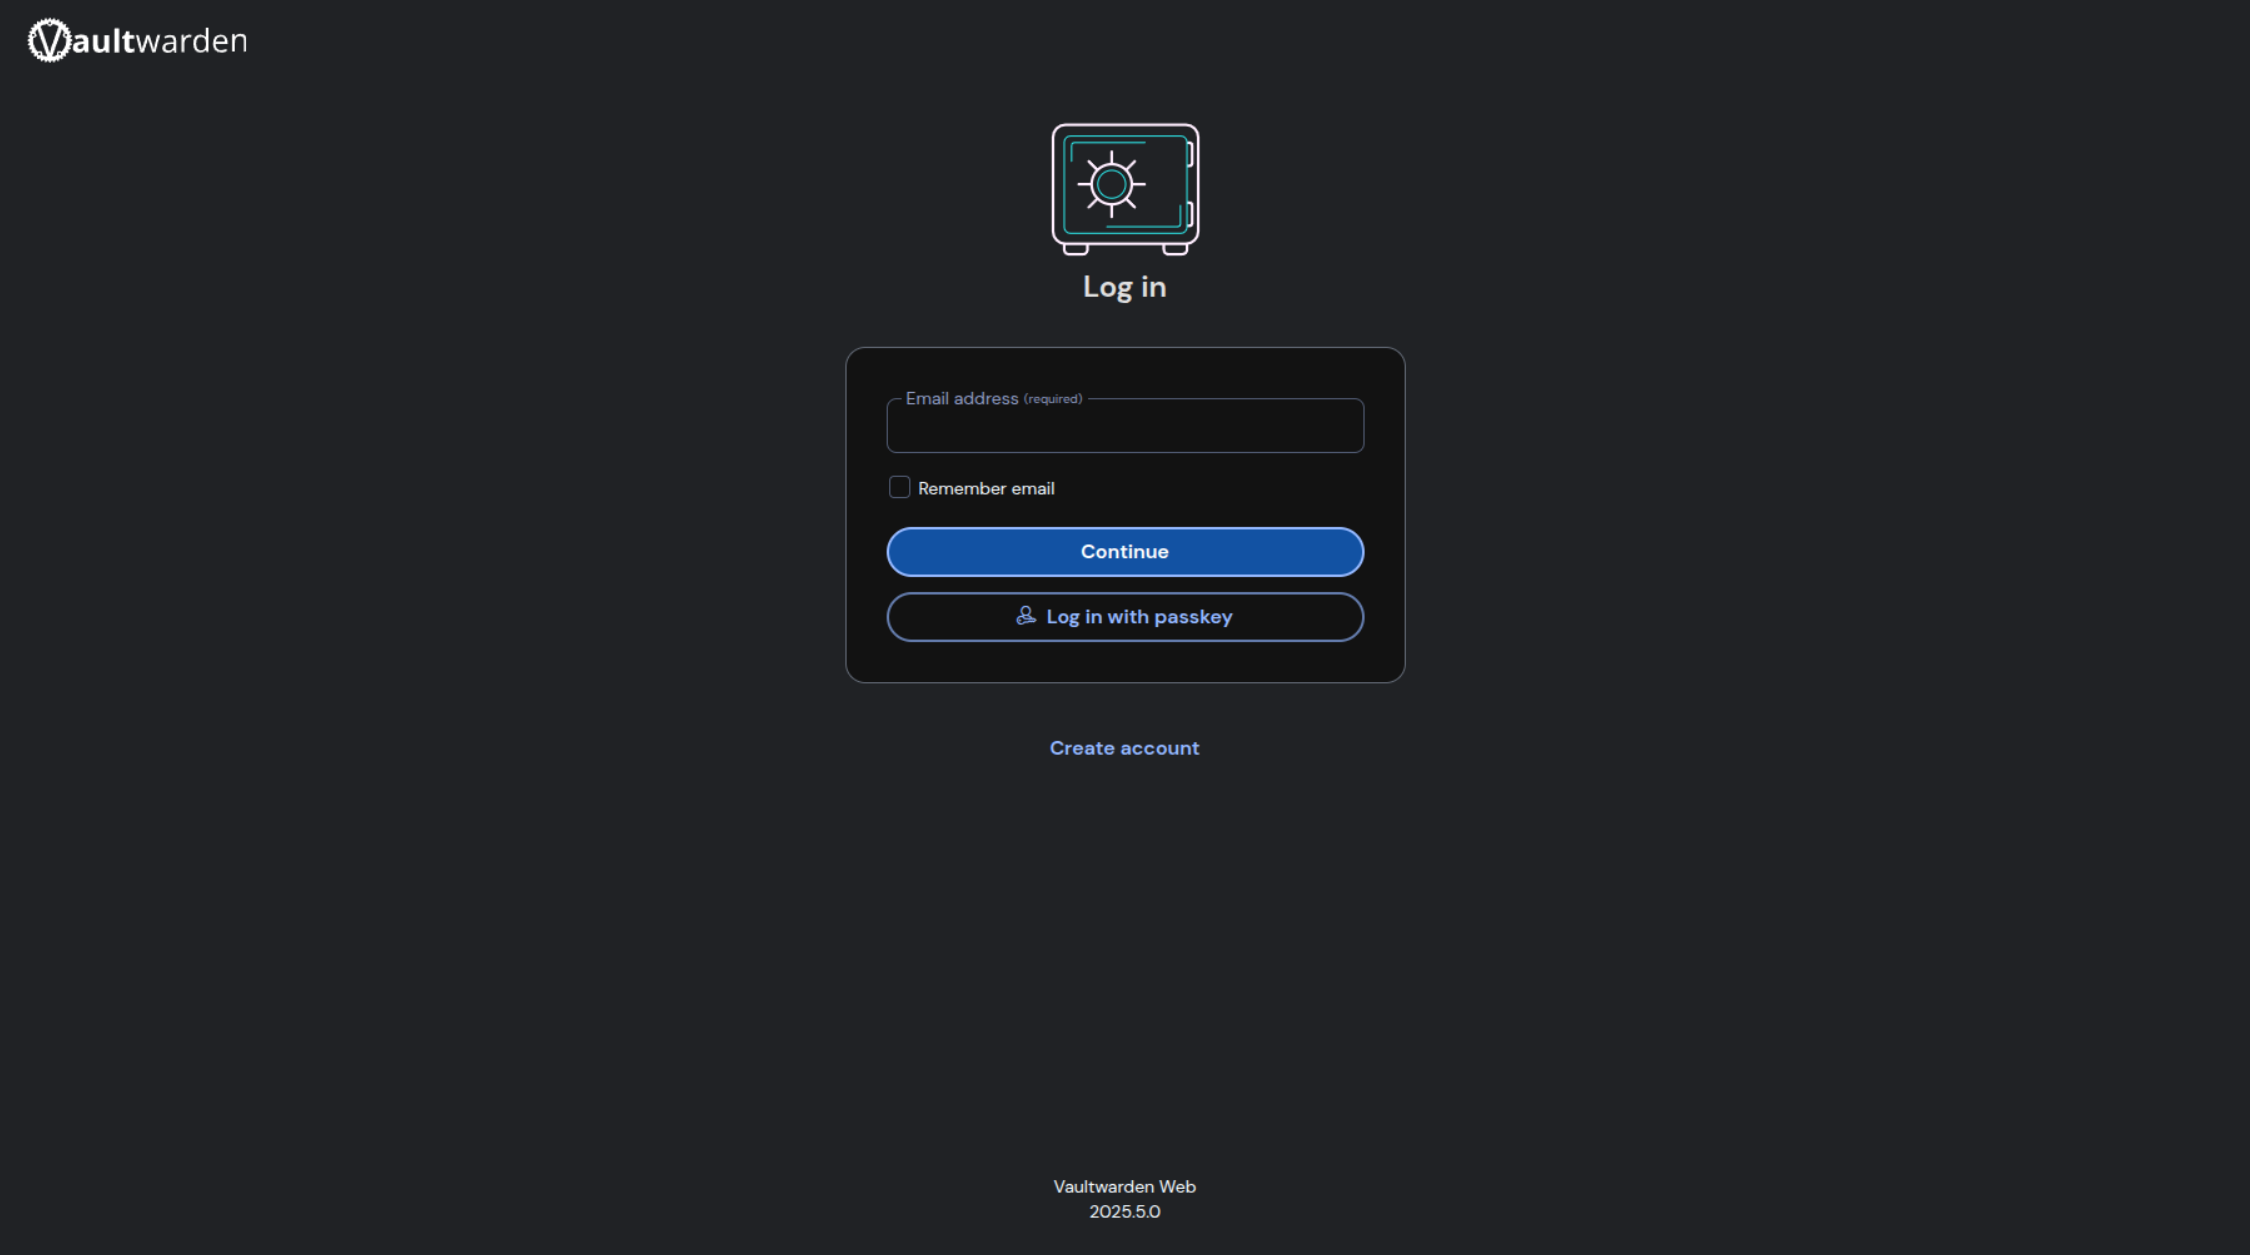
Next all you need to do is to setup the docker container. Below is a template for the command to set it up. Once it’s running, visit https://your_domain in your browser. You should be greeted with the account creation screen. Go ahead and register your account. After that, be sure to disable public signups by either updating the container or setting SIGNUPS_ALLOWED=false in your Docker environment.
sudo docker run -d --name vaultwarden -v /vw-data:/data -p 8443:80 -e WEBSOCKET_ENABLED=true -e SIGNUPS_ALLOWED=true -e DOMAIN=https://your_domain vaultwarden/server:latestEmail Setup (optional)
If you want features like password reset links for other accounts on your server, account verification emails, admin invites, and emergency access notifications, you’ll want to hook up SMTP.
Here’s how to do it with a Gmail account (you’ll need to generate an App Password):
-e SMTP_HOST=smtp.gmail.com
-e SMTP_FROM=your_account@gmail.com
-e SMTP_PORT=587
-e SMTP_USERNAME=your_account@gmail.com
-e SMTP_PASSWORD=your_gmail_app_password
-e SMTP_SECURITY=starttlsAdd those to your docker run command or define them in a .env file if you’re using docker-compose.
Once email is working, you’ll be able to:
- Send password reset links to other users on your server
- Verify email addresses
- Invite users to your instance
- Get alerts for emergency access requests
It’s a small step that adds a ton of functionality.
Enjoy Being Secure
And that’s it. You’ve got a secure, open-source, cloud-accessible password manager running on your own terms, with all the modern comforts like mobile and browser integration. No monthly fees. No trusting a third-party service with your credentials. Just you, your server, and full control over your security.
Welcome to the self-hosted club.